Hello everyone, this is Josh from the Transported Audio team! We recently wrapped a feature film for Netflix (it’ll be streaming next month!), and the project provided a unique opportunity for tons of glitchy sound effects. How, you might ask?
Here’s a screenshot from the film. Those color bars and 8-bit looking shapes aren’t small happy accidents – these are all rapidly animating, flickering overlays that are sprinkled throughout many sections of the film. There are literally hundreds of them! Not only that, but the visual style of these graphics changes based on the scene. These no doubt keep the film highly entertaining, and stylistic flair like this absolutely screams for creative sound design.
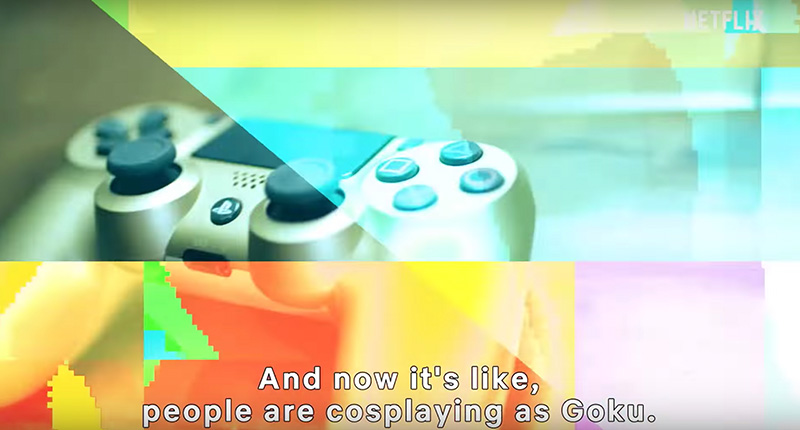
Being the sound designer for the film, it was ultimately up to me how best to approach the glitches. My goal was to keep our added glitches consistent over the entire film, and to introduce alternate layers to keep each scene sounding fresh. Instead of grabbing glitches from a sound library, I decided to create my own “glitch base” so that our effects would be unique to TA. From here I could utilize library glitches as an additional layer to add more variety to each instance of them. This project was on a tight turnaround time, so I needed a quick process to be able to cover large sections of the film with glitches quickly.
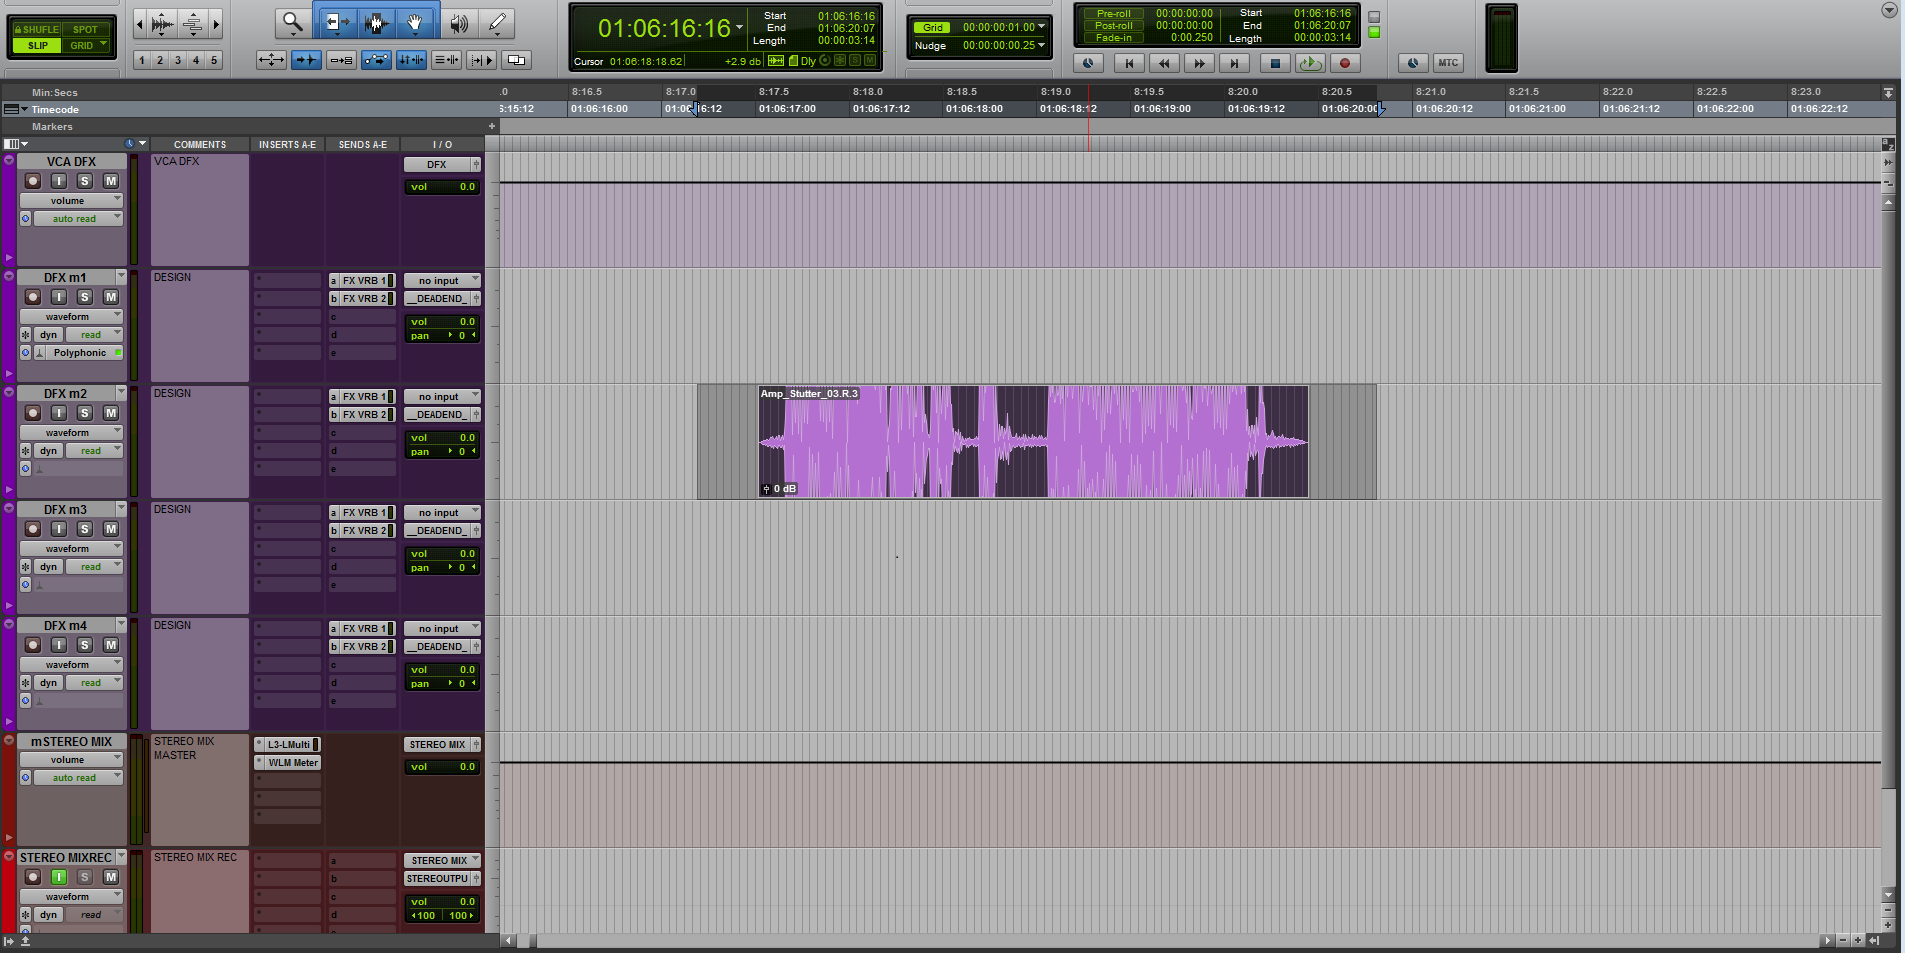
The base of the glitch sound is a fairly simple Amp Stutter. I wanted this effect to have variation, character, and cover a wide range of the frequency spectrum.
Once I’d built the amp stutter, I used the Sci-Fi plugin that comes with Pro Tools to add grit and grainy textures. I cycled through the factory presets to see what they sounded like. I really liked the preset Alien Talk 3.
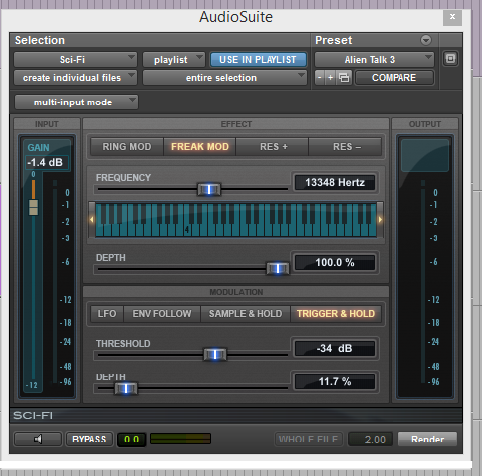
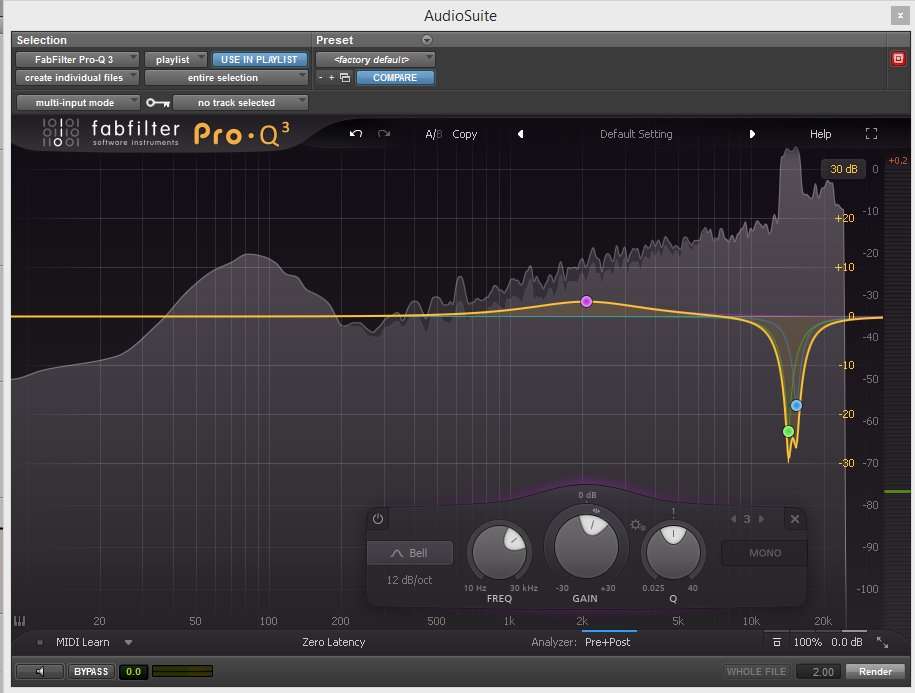
One thing I noticed upon adding the Sci-Fi plugin is that it introduced a bit of harshness to the higher frequencies. I notched this out using an EQ, and then boosted some of the mid-high frequencies to add a bit of clarity.
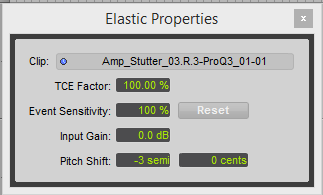
I then pitched the overall effect down to achieve a bit more beefiness. A quick way to do this is to change your tracks from elastic audio to polyphonic. Use the hotkey alt+5 to bring up the elastic properties box. Select your clip and enter how many semitones up or down you wish, hit enter and it will process the clip.
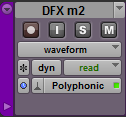
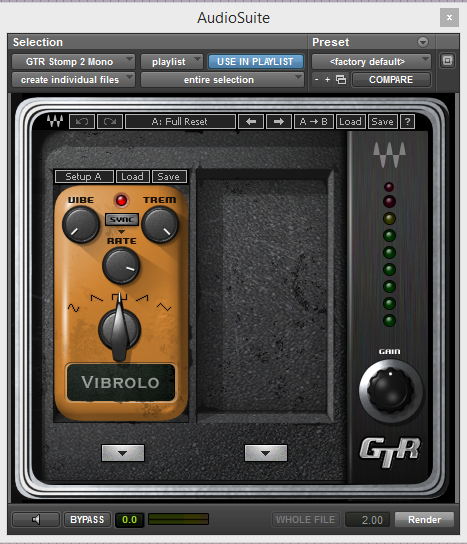
Now for the fun part! To create the glitchy sound quickly I used a tremolo. I used a square wave and set the tremolo so that the audio would completely cut out, creating that choppy glitch sound. For the rate/speed, I honestly went by feel. I processed the effect at different rates and played it back with picture to see if it fit the timing of on-screen glitches. This all helped to create our base layer, so from this point on it was all about creating variation in the design for each individual glitch.
After this I chopped up the effect and moved parts around to create some variation for the basic glitches.
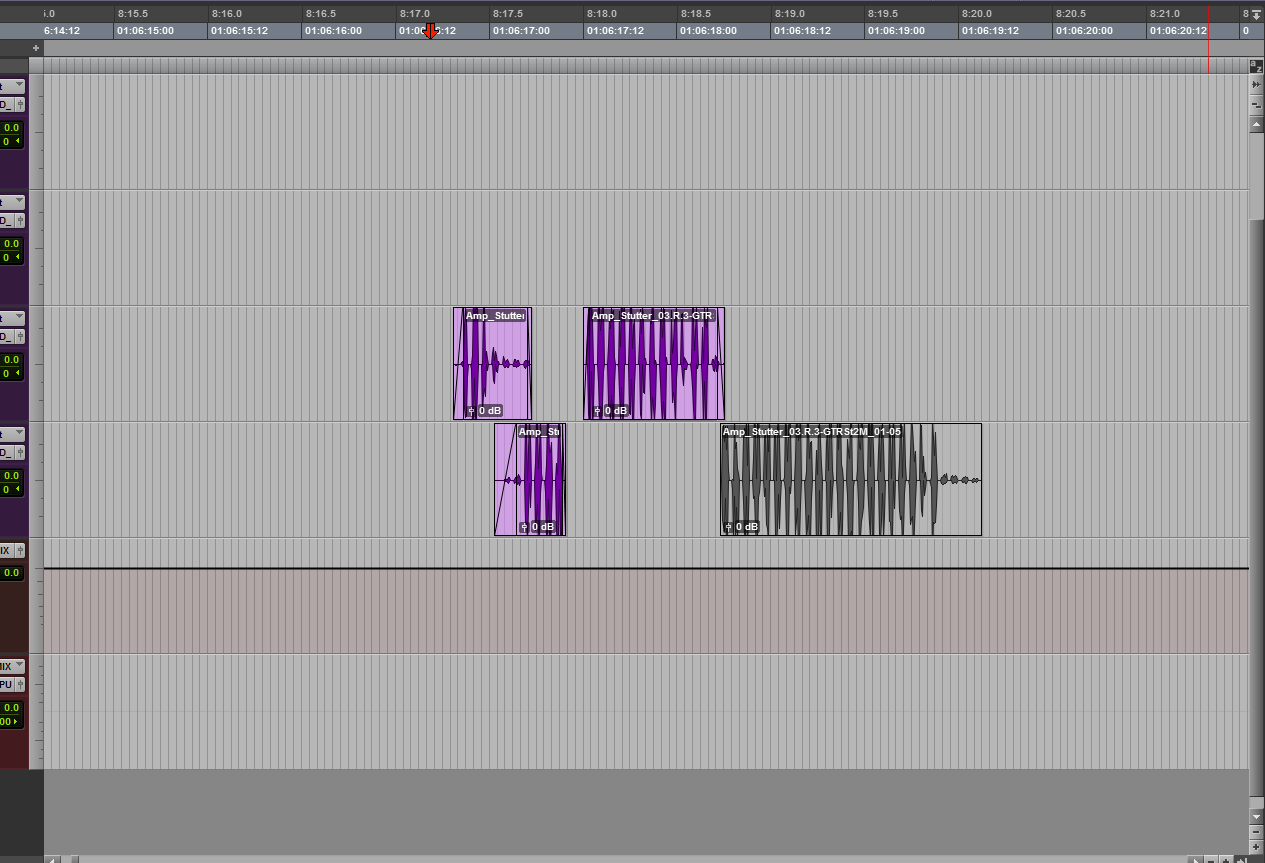
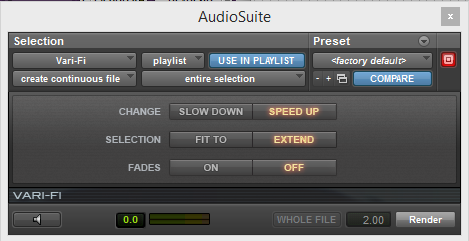
There are also glitch effects in the video that grow or shrink across the screen. For those I used Vari-Fi to speed up or slow down the glitches over time.
Now that we have the base effect, we can start layering glitches from a library. Below is a glitch from the finished project with layers.
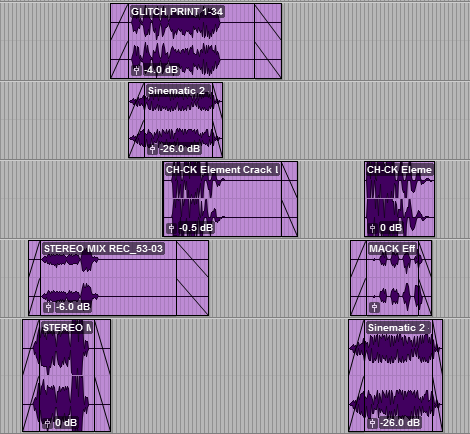
Looking back on it all, the process of creating a base layer for the glitch effects significantly sped up my design process and allowed me to spend more time being creative. I was able to create a decent amount of variation while maintaining consistency throughout the film by chopping up the base layer and arranging it in lots of different ways. Hopefully these glitches have added at least as much excitement to the film as the visual stutters and graphical glitches.
Thank you for reading!
– Josh

